CR-10S - The build
The Build
Note: The date published, is several days after the day these events took place
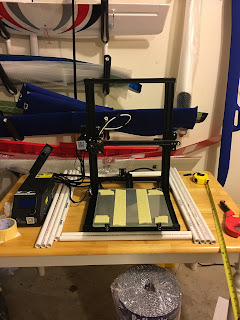
Well, to be honest, calling putting this printer together a "build" is a bit of a stretch. It comes "mostly assembled" and they claim it can be put together in about 30 mins. It took several days for Amazon to deliver the printer. Check the previous blog entry to see the vendor I used.

Ah! the smiley Amazon box waited to be opened. Had to wait until
wife and youngest son retired to the upper level. I have to invade
the kitchen area you see. (Garage too messy to attempt to put
anything together there).

Darn! A little boo-boo on the box. Didn't see this when I received
the box from the USPS man. Not that I would refuse the
package. Hopefully this doesn't bite me in the rear.


Opening the box revealed a neatly packaged printer. Thankfully
the long trip from China to Florida was made without any visible
damage to the parts.
I liked the fact that the kit came with everything you needed to put together the printer. This included the tools. Also nice was to find a few extra parts thrown in.
A disappointing, but not unexpected issue were the instructions.
 Sorry Crealty, but a couple of sheets with some pictures and poorly written English phrases do not help an absolute beginner. An experienced person will have no problem knowing what to do next.
For real how much does it cost to hire an English translator for the couple of hours it would take to to write a few assembly sheets? Prusa has this nailed down.
This situation was not unexpected so we already had "San Tube" excellent assembly video ready to play on our iPad:
I liked the fact that the kit came with everything you needed to put together the printer. This included the tools. Also nice was to find a few extra parts thrown in.
A disappointing, but not unexpected issue were the instructions.

For real how much does it cost to hire an English translator for the couple of hours it would take to to write a few assembly sheets? Prusa has this nailed down.
This situation was not unexpected so we already had "San Tube" excellent assembly video ready to play on our iPad:

 I enlisted my son to assist, he had no problem just trying to follow "San Tube" than me who was trying to figure things out by myself.
 We did our best to follow "San Tube" instructions however the first surprise came when we attempted to screw the x-axis gantry. The holes didn't match! I was sure we had gotten a bent printer. However lifting the gantry all the way to the top allowed us to screw the x-axis gantry to the bed.
 Second surprise of the build was that the z-axis couplers in this printer were different than the ones in the video. This was extraordinarily confusing and caused me to believe the orange part of the couples was something that was there for shipping and almost threw them away. Beginner thinking you see. As it turns out this is a different kind of coupler that will totally separate if the nozzle hits the bed or if the z-axis has reached its lower limit and the motors are still turning.
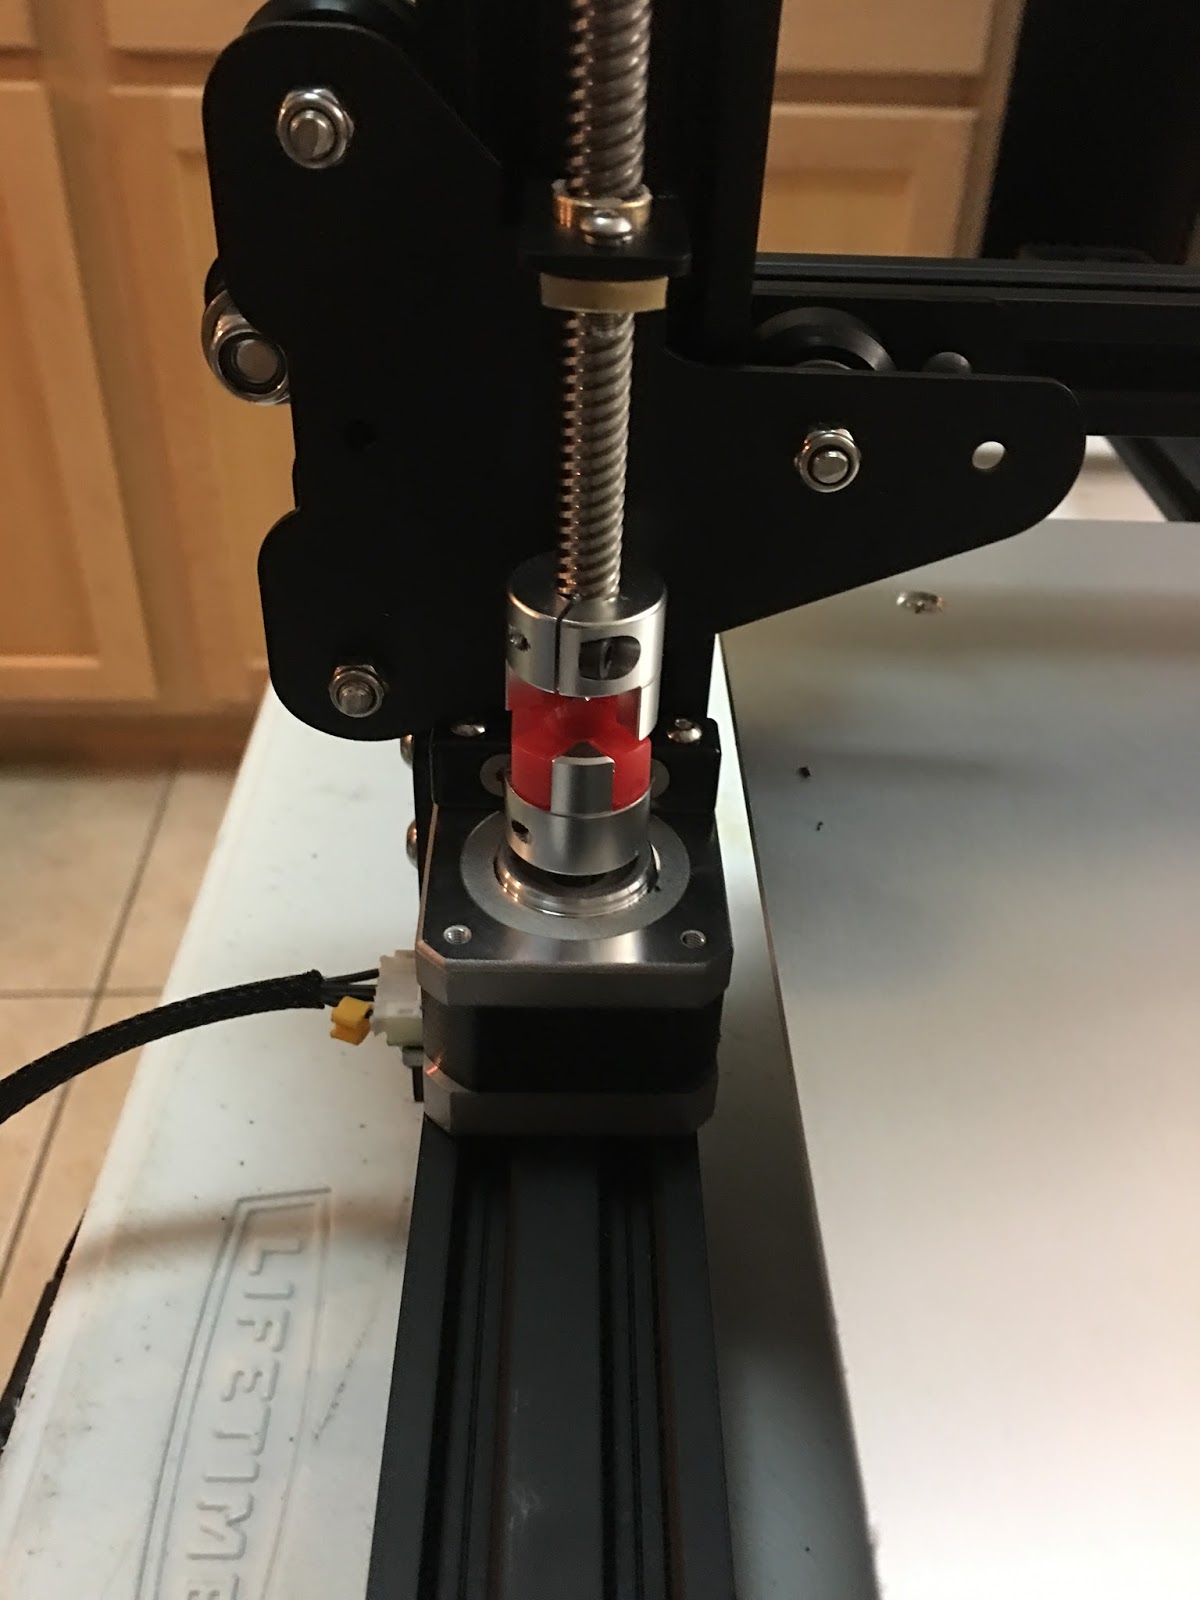
Fortunately for me the CR-10 owners group in facebook helped clarify all this for me. Those people are awesome!
Facebook Creality CR 10 3d Printer User Group
Last surprise of the day, and the one that caused me to suspend "the build" was that I couldn't "Auto-Home" the printer. The gantry would go down to the limit and never hit the z-limit microswitch. I am convinced that the x-axis is not level. That it is higher on the side of the micro-switch.
People on the User Group tell me "it doesn't have to be leveled". This doesn't make sense to me. People tell me I need to adjust the microswitch. However i see no obvious way to adjust the micro switch.
To make matters more interesting I can press the x-axis down, on the microswitch side, and i can get it to press on the microswitch. But the x-axis springs back up as soon as I let go.
Time to go to sleep and try again with a clear mind.


Comments
Post a Comment